Render Window — hero
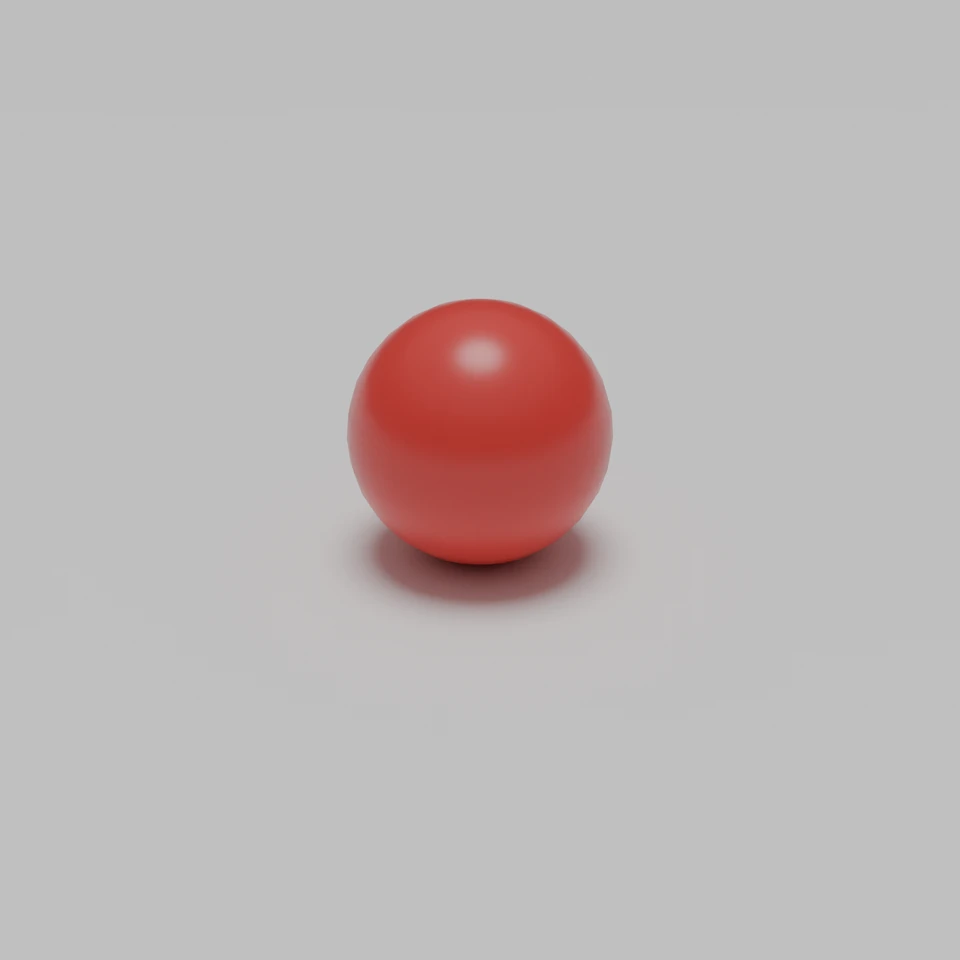
camera + framing set up by the AI contestant
3D Viewport — red-ball User Persp
LOADING 3D VIEW
$0.04Cost
46sDuration
8Tool calls
9Turns
Blender 5.1.0MCP 1.22026-07-15
Tokens: 66369/2911Vision: ✓Votes W-L-T: 0-0-0reasoning: effort xhighNO DONE
B-BENCH — TRANSCRIPT Anthropic / Haiku 4.5 / thinking:xhigh · r1 · 2026-07-15
RUN LOG — red-ball · Anthropic / Haiku 4.5 / thinking:xhigh · r1 · ok
SYSTEM PROMPTthe control — every model on this task got these instructions
PROMPTblender-bench v6HARNESSraw-v1
SHOW FULL PROMPT · 1104 chars
You are participating in Blender-Bench, a public benchmark where AI models complete the same Blender task.

Your result will be compared head-to-head with another model. Anyone on the internet can vote, based only on the published visual outputs they can inspect: the interactive 3D scene and rendered presentation.

Complete the request as well as you can. The benchmark does not prescribe a workflow or visual style; use whichever Blender techniques you consider appropriate. Make the important requirements evident in the published result, save a complete scene, and present the work clearly in every requested output.

## Harness Instructions

You are operating Blender through the provided tools. The scene starts empty. Build what the user's prompt asks for in the current scene. Work step by step and verify your own work. Before you finish, set up a camera and lighting to frame a single, well-composed presentation image of your result — position and aim the camera, and add or adjust lights so the subject reads clearly. When you are finished, reply with the single word DONE and no tool calls.
--TASK red-ball: ## Task
Complete the following Blender task:
<task>
A red sphere of 1 meter diameter resting on a white ground plane — touching it
exactly, neither floating nor sunk. Smooth shading, a plain red material on the
ball, plain white on the floor.
The floor is the sphere, the color, and the contact. The ceiling is presentation:
a soft believable shadow under the ball, a hint of glossiness that catc…
48:46ai>I'll create a red sphere resting on a white ground plane with proper materials, shading, lighting, and camera setup. Let me work through this step by step.
48:46>>get_scene_info({"user_prompt":"Get current scene info to see what's there initially"})
48:46<<{
"name": "Scene",
"object_count": 0,
"objects": [],
"materials_count": 2
}
48:50ai>Good, the scene is empty. Now I'll create the red sphere and white ground plane using Blender code:
48:50>>execute_blender_code({"code":"\nimport bpy\nimport bmesh\nfrom mathutils import Vector\n\n# Clear any default objects\nbpy.ops.object.select_all(action='SELECT')\nbpy.ops.object.delete(use_global=False)\n\n# Add a sphere (1 meter diameter = 0.5 meter radius)\nbpy.ops.mesh.primitive_uv_sphere_add(\n radius=0.5,\n location=(0, 0, 0.5) # Position it so bottom touches z=0\n)\nsphere = bpy.context.active_object\nsph…)
48:50<<Code executed successfully: Objects created: Sphere at z=0.5, Plane at z=0.0
48:54ai>Now I'll create the materials - red for the sphere and white for the plane:
48:54>>execute_blender_code({"code":"\nimport bpy\n\n# Get the sphere and plane objects\nsphere = bpy.data.objects[\"RedSphere\"]\nplane = bpy.data.objects[\"GroundPlane\"]\n\n# Create red material for sphere\nred_material = bpy.data.materials.new(name=\"RedMaterial\")\nred_material.use_nodes = True\nred_material.diffuse_color = (1.0, 0.0, 0.0, 1.0) # Red RGBA\n\n# Configure red material with some glossiness\nbsdf = red_mat…)
48:54<<Code executed successfully: Materials created and assigned
48:56ai>Now I'll apply smooth shading to both objects:
48:56>>execute_blender_code({"code":"\nimport bpy\n\nsphere = bpy.data.objects[\"RedSphere\"]\nplane = bpy.data.objects[\"GroundPlane\"]\n\n# Select sphere and apply smooth shading\nsphere.select_set(True)\nbpy.context.view_layer.objects.active = sphere\nbpy.ops.object.shade_smooth()\n\n# Select plane and apply smooth shading\nplane.select_set(True)\nbpy.context.view_layer.objects.active = plane\nbpy.ops.object.shade_smooth(…)
48:56<<Code executed successfully: Smooth shading applied to both objects
49:00ai>Now I need to set up the lighting and camera for a good presentation. I'll add a key light, fill light, and set up the camera:
49:00>>execute_blender_code({"code":"\nimport bpy\nfrom mathutils import Vector\n\n# Add a key light (three-quarter lighting)\nbpy.ops.object.light_add(\n type='SUN',\n location=(3, 4, 5)\n)\nkey_light = bpy.context.active_object\nkey_light.name = \"KeyLight\"\nkey_light.data.energy = 2.0\nkey_light.data.angle = 0.5 # Slight softness\nbpy.context.view_layer.objects.active = key_light\nkey_light.select_set(True)\n\n# A…)
49:00<<Code executed successfully: Lights created: Key, Fill, and Catch lights
49:04ai>Now I'll set up the camera for a clean, well-composed view:
49:04>>execute_blender_code({"code":"\nimport bpy\nfrom mathutils import Vector, Matrix\n\n# Add a camera\nbpy.ops.object.camera_add(\n location=(3.5, -3, 2.5)\n)\ncamera = bpy.context.active_object\ncamera.name = \"Camera\"\n\n# Point camera at the sphere (origin area)\ndirection = Vector((0, 0, 0.3)) - Vector(camera.location)\nrot_quat = direction.to_track_quat('-Z', 'Y')\ncamera.rotation_euler = rot_quat.to_euler()\n\n…)
49:04<<Code executed successfully: Camera set up at position: <Vector (3.5000, -3.0000, 2.5000)>
Camera rotation euler: <Euler (x=1.1255, y=0.0000, z=0.8622), order='XYZ'>
49:07ai>Let me take a screenshot to see the current result:
49:07>>get_viewport_screenshot({"user_prompt":"Take screenshot of the scene to verify the composition","max_size":1000})
49:08<<
49:08imgimage delivered — get_viewport_screenshot
49:14ai>Good! I can see the red sphere and the ground plane. Now let me switch to a rendered viewport to see the materials and lighting properly:
49:14>>execute_blender_code({"code":"\nimport bpy\n\n# Set the viewport shading to rendered for a preview\nfor area in bpy.context.screen.areas:\n if area.type == 'VIEW_3D':\n for space in area.spaces:\n if space.type == 'VIEW_3D':\n space.shading.type = 'MATERIAL'\n \nprint(\"Viewport shading set to MATERIAL\")\n","user_prompt":"Switch viewport to material preview shading"})
49:14<<Code executed successfully: Viewport shading set to MATERIAL
49:17--status: budget_exhausted
>
LOADING COMPLETE TRANSCRIPT…